Quick answer: To convert JPG to PDF, open Image to PDF, add your JPG or PNG images in the order you want the pages, build the PDF and download it. Each image becomes one page. For a clean, small document, photograph pages flat and in good light, crop off the background and compress the photos before you build the PDF.
In this guide
“Please upload your certificate as a PDF.” If all you have is a photo of the certificate on your phone, that request can feel like a dead end. It isn’t. Turning photos into a PDF takes a minute, and with a little care the result looks like a proper scanned document rather than a snapshot of a piece of paper on a kitchen table.
How to convert JPG to PDF, step by step
- Open Image to PDF in your browser, on a phone or computer.
- Add your images in the order you want them to appear. Each image becomes one page of the document.
- Build the PDF. The document is created on your device.
- Download it and open it to check every page before you send it.
Nothing is uploaded, which matters for the kind of paperwork people usually turn into PDFs: ID cards, bank letters, medical documents and signed forms.
Photograph documents so they look scanned
The quality of the PDF depends almost entirely on the photos. A few habits make a big difference:
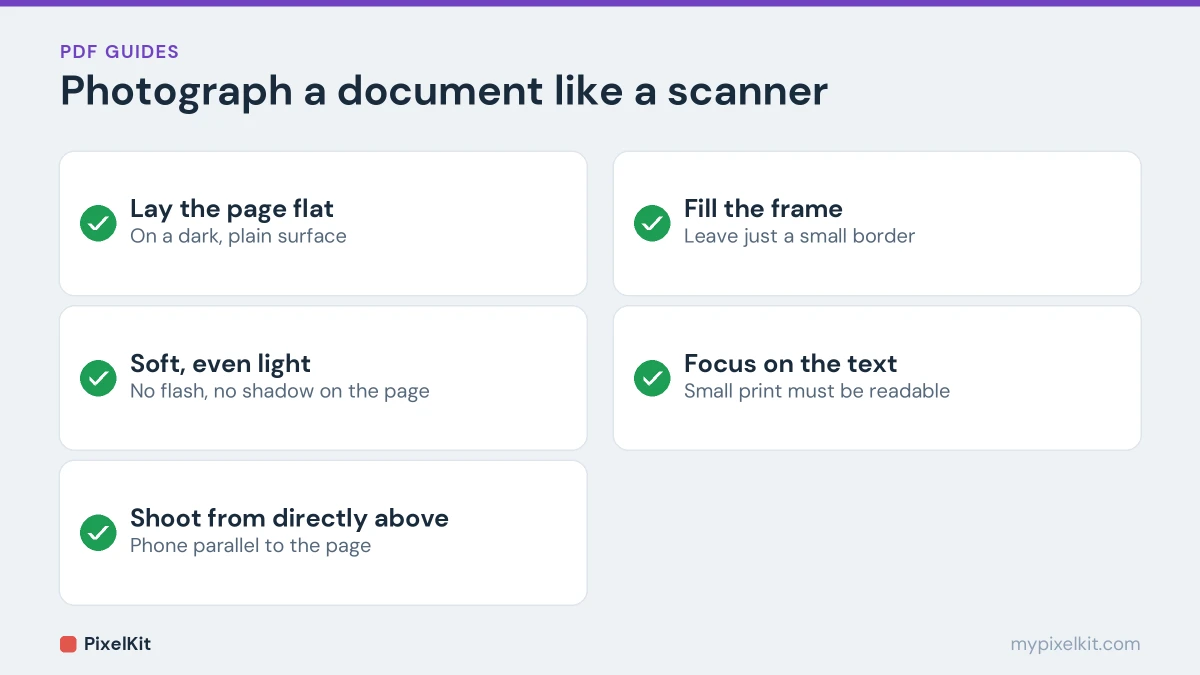
- Lay the page flat on a dark, plain surface so its edges stand out.
- Use soft, even light. Daylight from a window works well. Avoid the flash and don’t stand between the light and the page, or your shadow ends up on it.
- Shoot from directly above, with the phone parallel to the page, so the text isn’t distorted into a trapezoid.
- Fill the frame with the page, leaving just a small border.
- Tap to focus on the text and hold steady. Check that small print is readable before moving on.
Prepare the images before building the PDF
Three quick fixes turn phone photos into clean pages:
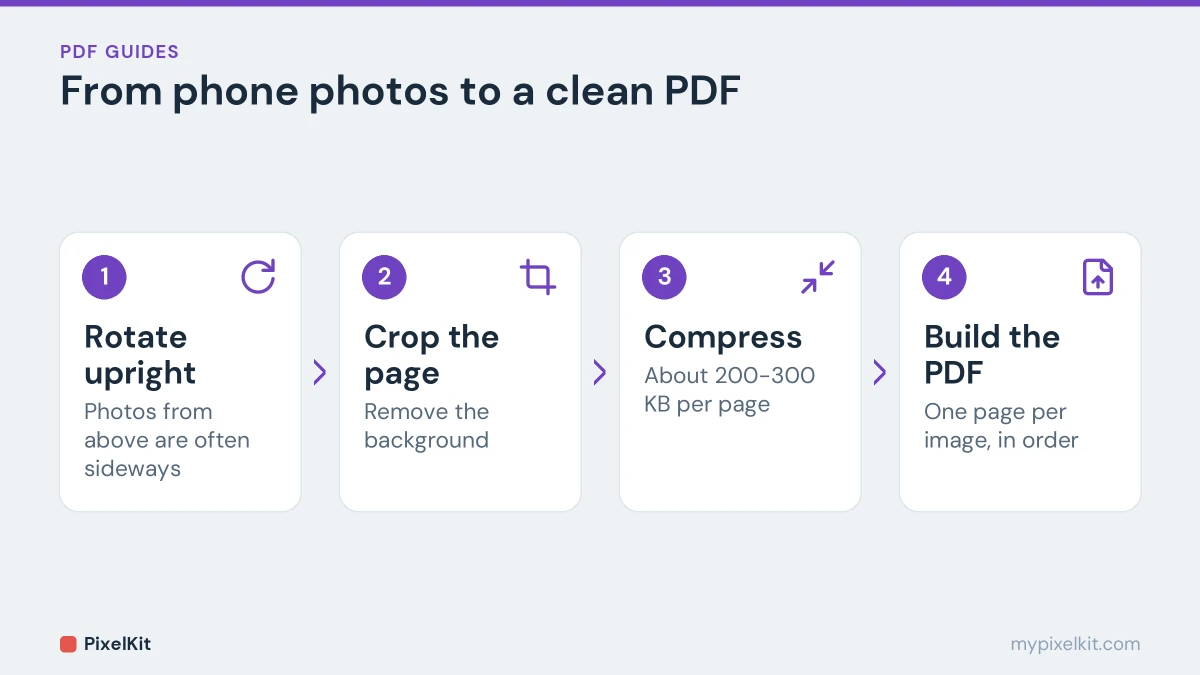
- Make sure each photo is upright. Photos of documents taken from above are often saved sideways. Fix them with Rotate Image; our guide on why photos turn sideways explains why it happens.
- Crop off the background with Crop Image, so only the page remains.
- Compress the photos with Compress Image. This is the step that keeps the PDF small.
If your photos are in iPhone HEIC format, convert them to JPG first with Convert to JPG; see how to convert HEIC to JPG for details.
How big will the PDF be?
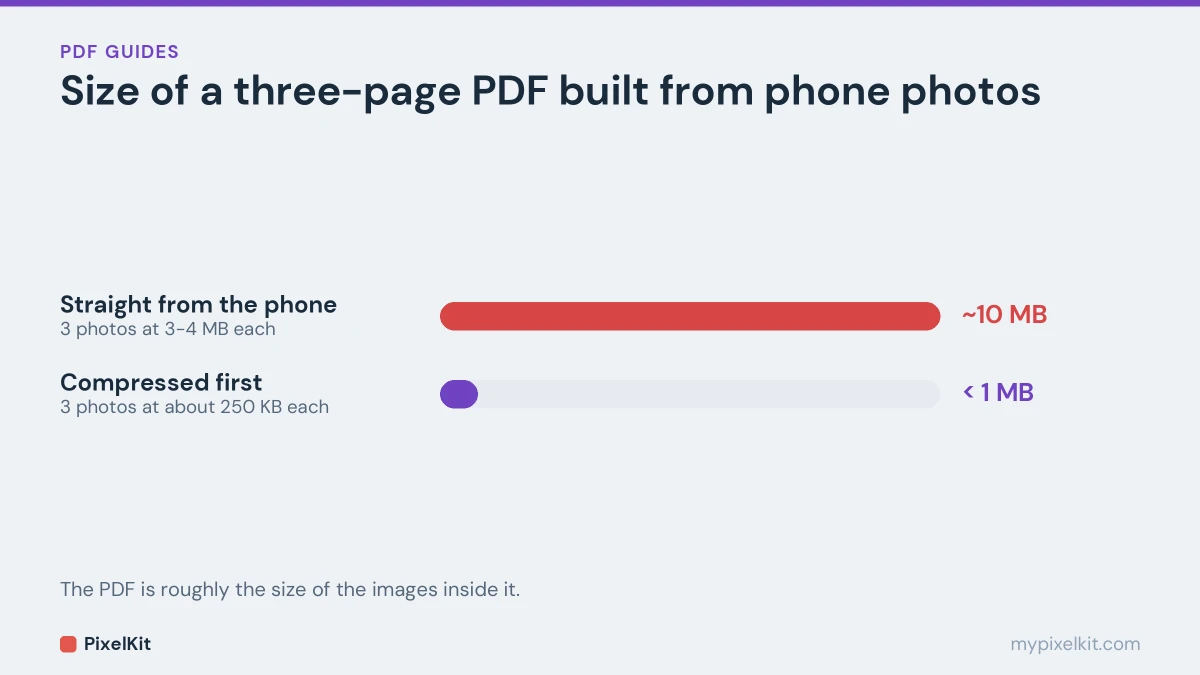
Each page of the PDF carries its image, so the document ends up roughly as large as all the photos combined. Three photos straight from a phone at 3–4 MB each make a PDF of around 10 MB, far over many upload limits.
For a readable document, a few hundred kilobytes per page is usually plenty. Compressing each photo to around 200–300 KB before building the PDF keeps a three-page document under about 1 MB. If a portal has a strict limit, divide it by the number of pages to get a per-image target, and leave a little room to spare. Our guide on compressing an image to an exact size shows how to hit a target cleanly.
Getting the page order right
- Add images in reading order: front before back, page 1 before page 2.
- For a two-sided ID card, the front usually goes first, unless the form says otherwise.
- Name your photos in sequence, such as page-01.jpg and page-02.jpg, so they sort correctly when you select them.
Adding the photos to an existing PDF
If you already have a PDF and need to add photographed pages to it, build a PDF from the photos first, then combine the two files with Merge PDF. Our guide on how to merge PDF files covers ordering and size.
Will the text be searchable?
No. A PDF made from photos contains pictures of text, not real text, so you can’t select, search or copy words from it. That is normal for scanned documents and is fine for almost every upload form. Making the text searchable requires OCR software. For more on the difference between scanned and digital PDFs, see our complete guide to PDF tools.
JPG to PDF: quick recap
Converting JPG to PDF comes down to three things: good source photos, the right page order and a sensible file size. Crop and compress the images first, add them to Image to PDF in order, and download one document. The same JPG to PDF steps work for certificates, receipts and multi-page scans, and you can add the result to an existing file with Merge PDF.
Frequently asked questions
Can I put several photos into one PDF?
Yes. Add them all and each one becomes a page in the same document, in the order you added them.
Why is my PDF so large?
Because the photos inside it are large. Compress them before building the PDF and the document shrinks accordingly.
Can I convert PNG screenshots to PDF too?
Yes. Image to PDF accepts PNG as well as JPG, which is handy for turning screenshots of receipts or confirmations into a document.
Can I do this on my phone?
Yes. Take the photos, then open Image to PDF in your phone’s browser and pick them from your gallery. The PDF is built on the phone itself.
Sources and further reading
- Scan documents with Google Drive (Google Drive Help): Scanning paper documents to PDF with the Google Drive app.
- Optical character recognition (Wikipedia): How OCR turns pictures of text into real, searchable text.
- PDF (Wikipedia): How the PDF format stores fixed pages, text, images and forms.