Quick answer: To resize image without losing quality, make it smaller rather than bigger, keep the aspect ratio locked so it doesn’t stretch, resize once from the original file, and compress only after resizing. Shrinking a photo keeps it sharp; enlarging always costs some sharpness, because the extra pixels have to be invented.
In this guide
“Resize without losing quality” is one of the most searched image questions, and the honest answer has two halves. Making an image smaller can be done with no visible loss at all. Making it bigger always involves some loss, but you can limit it. The difference comes down to what actually happens to the pixels.
What happens when you resize an image
An image is a grid of pixels. When you change its dimensions, the software has to calculate a brand-new grid, a process called resampling. Every new pixel’s color is worked out from the original pixels around it, using an interpolation method such as bilinear, bicubic or Lanczos.
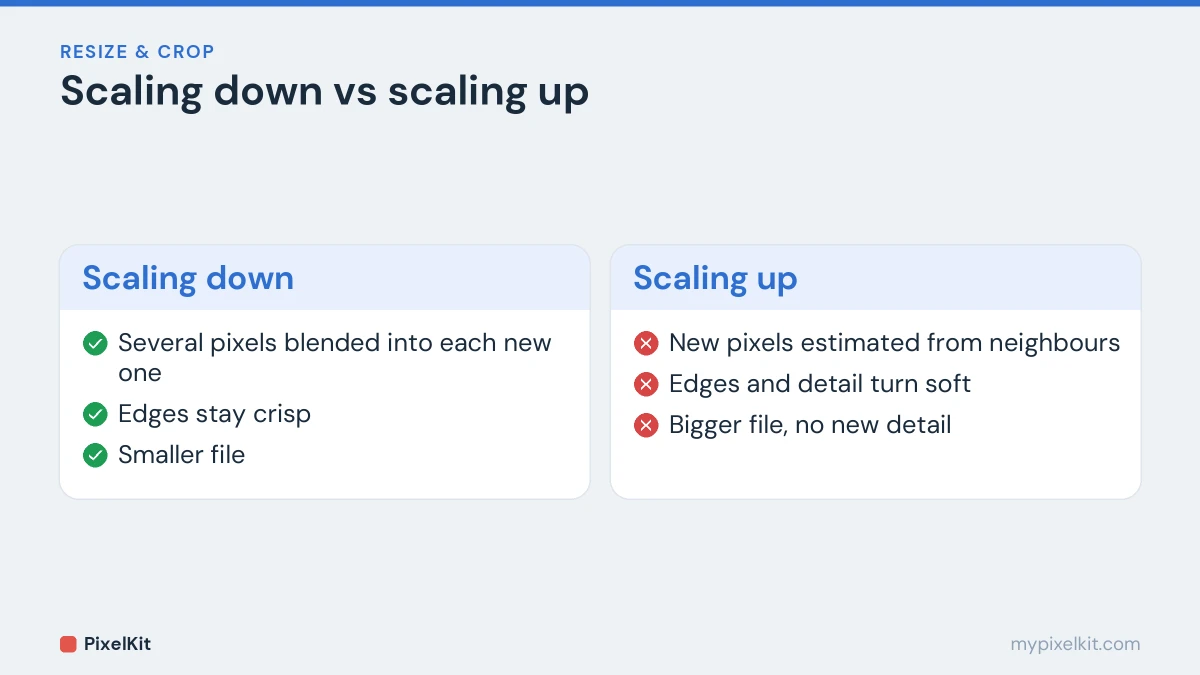
- When you shrink an image, several original pixels are averaged into each new one. Detail becomes finer than the new grid can show, but edges stay crisp and the result looks sharp.
- When you enlarge an image, there are more new pixels than original ones, so the gaps are filled with estimates. Edges become soft and fine detail turns to blur.
That is why the first rule matters more than all the others.
Rule 1: Scale down, not up
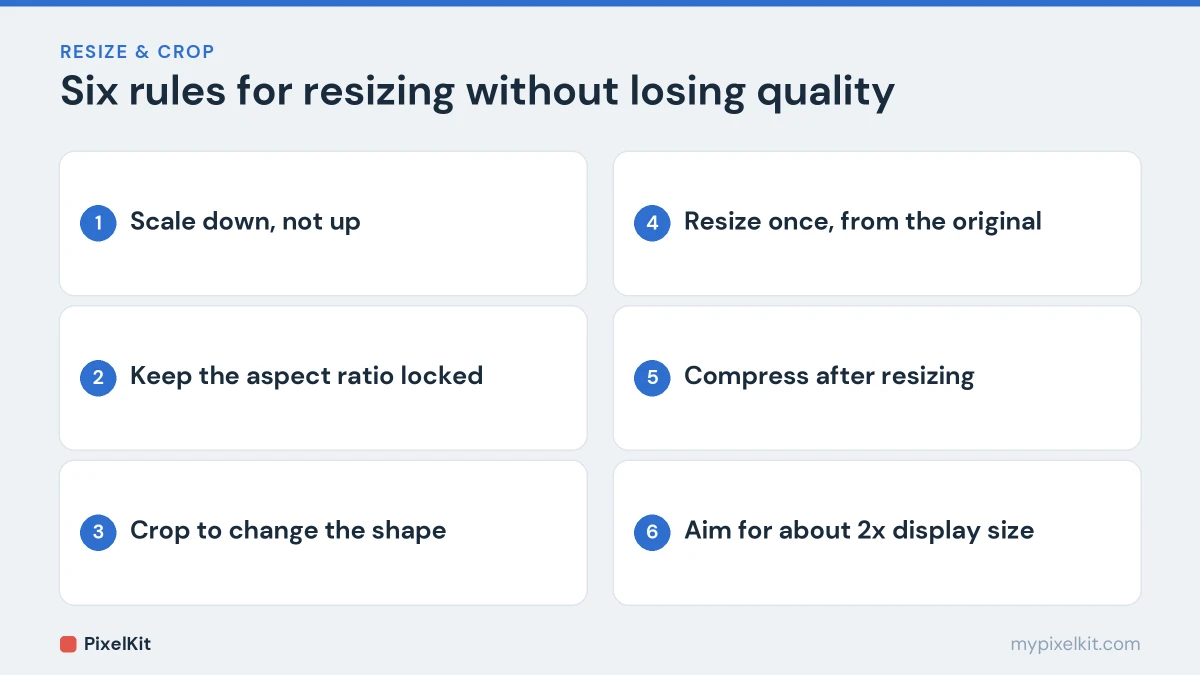
Start from an image that is at least as large as the size you need. A 4000-pixel phone photo can be resized to 1600, 1200 or 800 pixels and still look perfect. An 800-pixel image stretched to 1600 will always look soft.
If an image is too small for its purpose, the best fix is a larger original: the file straight from the camera instead of a copy from a chat app, or a higher-resolution version from whoever sent it.
Rule 2: Keep the aspect ratio locked
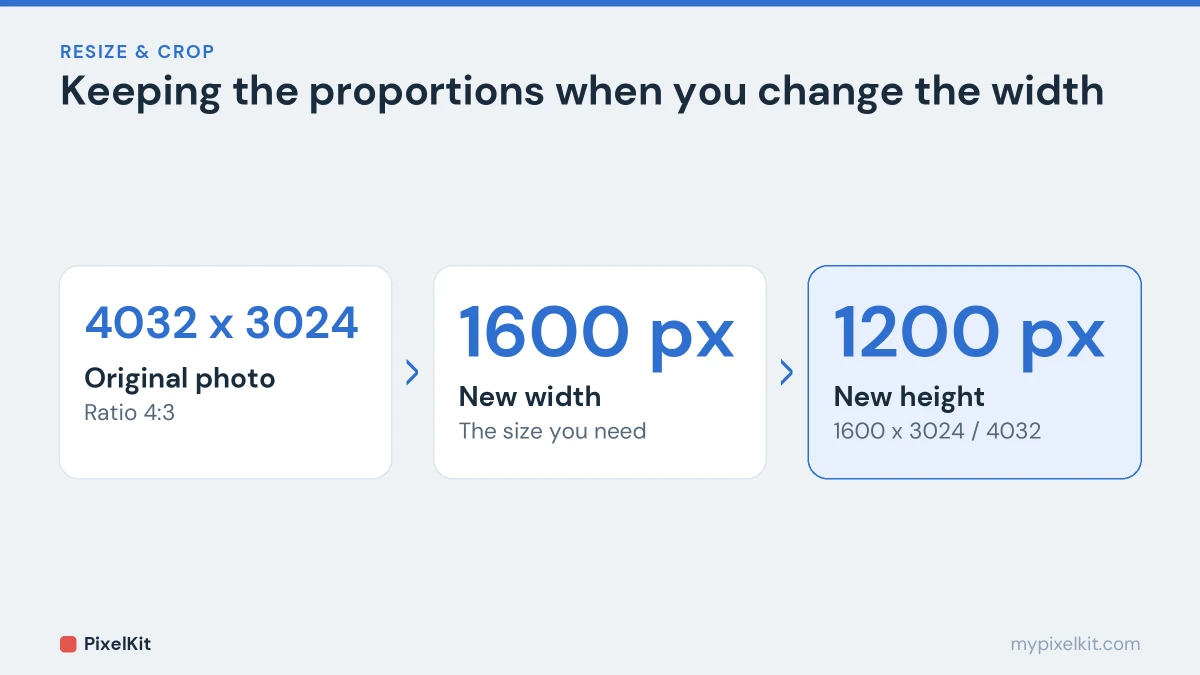
Stretched faces and squashed logos come from changing the width and height by different amounts. To keep the proportions, change one dimension and calculate the other:
new height = new width × original height ÷ original width
For example, a 4032 × 3024 photo resized to 1600 pixels wide should be 1600 × 3024 ÷ 4032 = 1200 pixels tall. Scaling by a percentage does this automatically: 50% of 4032 × 3024 is 2016 × 1512.
Rule 3: Change the shape with a crop, not a resize
If you need a different shape, such as a square profile picture from a rectangular photo, resizing alone can’t do it without distortion. Crop to the new shape first with Crop Image, then resize the cropped image to the exact pixels you need. Our guide on cropping to a square, 16:9 or any ratio shows how to work out the crop.
Rule 4: Resize once, from the original
Every resize recalculates the pixels, and every time a JPG is saved it is compressed again. Resizing a resized copy, or going down and then back up, piles up small losses. Keep the original untouched, go straight to the final size in one step, and if you change your mind later, start again from the original.
Rule 5: Resize first, compress last
Resizing reduces the number of pixels, which already makes the file much smaller. If you also have a file size limit, compress the resized image as the very last step with Compress Image. Compressing first and resizing afterwards means the image is encoded twice. For the full sequence, see our complete guide on how to reduce image file size.
Rule 6: Pick the right target size
Resizing too small is its own quality problem. A good rule for screens is to use about twice the size at which the image will be displayed, so it stays crisp on high-density phone and laptop screens. An image shown 600 pixels wide on a web page should be around 1200 pixels wide. For images headed to a website, our guide on optimizing images for a faster website covers sizes and formats in detail. For print, you need about 300 pixels per inch of paper; our explainer on pixels, DPI and aspect ratio has a table of common print sizes.
How to resize an image with PixelKit
- Open Resize Image. It works in any browser on a phone or computer, with no sign-up.
- Add a JPG, PNG or WebP image.
- Enter an exact width and height in pixels, or scale by a percentage if you only need it proportionally smaller. When entering pixels, calculate the second dimension with the formula above so nothing stretches.
- Resize and download. The file comes back in the same format you put in.
The image is processed on your device, so private photos and documents are never uploaded.
Pixels or percent?
- Use pixels when a form, platform or layout asks for specific dimensions, such as 1200 × 628 or 600 × 600.
- Use percent when you simply want a smaller version, for example 50% to send a photo by email or chat. Percentages always keep the proportions.
What if you really need a bigger image?
Sometimes there is no larger original. In that case:
- Enlarge modestly. A small increase is much less noticeable than doubling or tripling.
- Consider the viewing distance. A poster seen from across a room hides softness that a close-up print would reveal.
- Know what AI upscaling does. AI upscalers can produce sharper-looking results by generating plausible new detail. That detail is invented, so it is fine for a decorative image but unsuitable for ID photos, documents or anything that must be accurate.
Resize image without losing quality: the rules in short
To resize image without losing quality, scale down rather than up, keep the aspect ratio locked, change the shape with a crop, resize once from the original, and compress only at the end. Follow those rules and you can resize an image for the web, email or print with no visible loss. When you need to resize image without losing quality for a specific slot, enter the exact pixels in Resize Image and check the result at 100% zoom.
Frequently asked questions
Does resizing an image reduce its quality?
Making it smaller doesn’t reduce visible quality when done once from the original. Making it larger does, because the extra pixels have to be estimated.
Why does my resized image look blurry?
Usually for one of three reasons: it was enlarged, it is being displayed larger than its actual pixel size, or it was compressed heavily after resizing. Check the dimensions against where it is shown.
Does resizing make the file smaller?
Yes. Fewer pixels need fewer bytes, so resizing is one of the most effective ways to cut file size. Halving the width and height leaves a quarter of the pixels.
Can I resize an image without changing its format?
Yes. PixelKit’s Resize Image returns the same format you gave it: a JPG stays a JPG, a PNG stays a PNG and a WebP stays a WebP.
Sources and further reading
- Image scaling (Wikipedia): How resizing works and why enlarging an image loses sharpness.
- Bicubic interpolation (Wikipedia): One of the most common interpolation methods used when resizing.
- Lanczos resampling (Wikipedia): A high-quality resampling method used by many image editors.
- Using responsive images in HTML (MDN Web Docs): A practical guide to srcset, sizes and serving the right image to each screen.