Quick answer: To resize photo for passport or visa, find the exact requirements on the official website, then prepare it in this order: convert it to JPG, rotate it upright, crop it to the required shape with your head correctly placed, resize it to the required pixels (for example 600 × 600 for a US visa), and compress it to fit the file size limit without going too low.
In this guide
Online passport renewals, visa applications and ID card portals increasingly ask you to upload a digital photo instead of mailing a print. The upload checks are automatic and strict: the wrong shape, a few pixels too many or a file a little too heavy, and the photo is refused. Here is how to prepare a photo that passes, using free tools that run in your browser so your ID photo never leaves your device.
Before you start: resizing can’t fix a bad photo
Resizing and cropping only change the shape, pixels and file size. The photo itself still has to meet the rules of the country you are applying to, which typically include a plain light background, even lighting, a neutral expression, both eyes open, a recent picture and, for US applications, no glasses. Official photo rules also forbid retouching or altering your appearance, so don’t use filters or beauty modes.
Take the photo in good daylight, facing a plain wall, with someone else holding the camera at head height. A selfie taken at arm’s length distorts the face and is a common cause of rejection.
Know your target: common photo specifications
Requirements differ between countries and between documents, and they change, so always confirm on the official government website. These examples show the kind of numbers you are working with:
| Document | Shape | Pixels | File |
|---|---|---|---|
| US visa (DS-160) digital photo | Square | 600 × 600 to 1200 × 1200 | JPEG, 240 KB or less |
| US printed passport or visa photo | 2 × 2 in | 600 × 600 at 300 PPI | Printed |
| 35 × 45 mm printed photo (used in many countries) | Portrait | About 413 × 531 at 300 PPI | Printed |
If you are wondering how inches, millimetres and PPI turn into pixels, our guide to image dimensions, DPI and aspect ratio explains the conversion.
Step 1: Start from the original photo
Use the file straight from the camera or phone. Photos that have been sent through a messaging app, screenshotted or downloaded from social media have usually been shrunk and compressed already, and they may fall below the minimum quality.
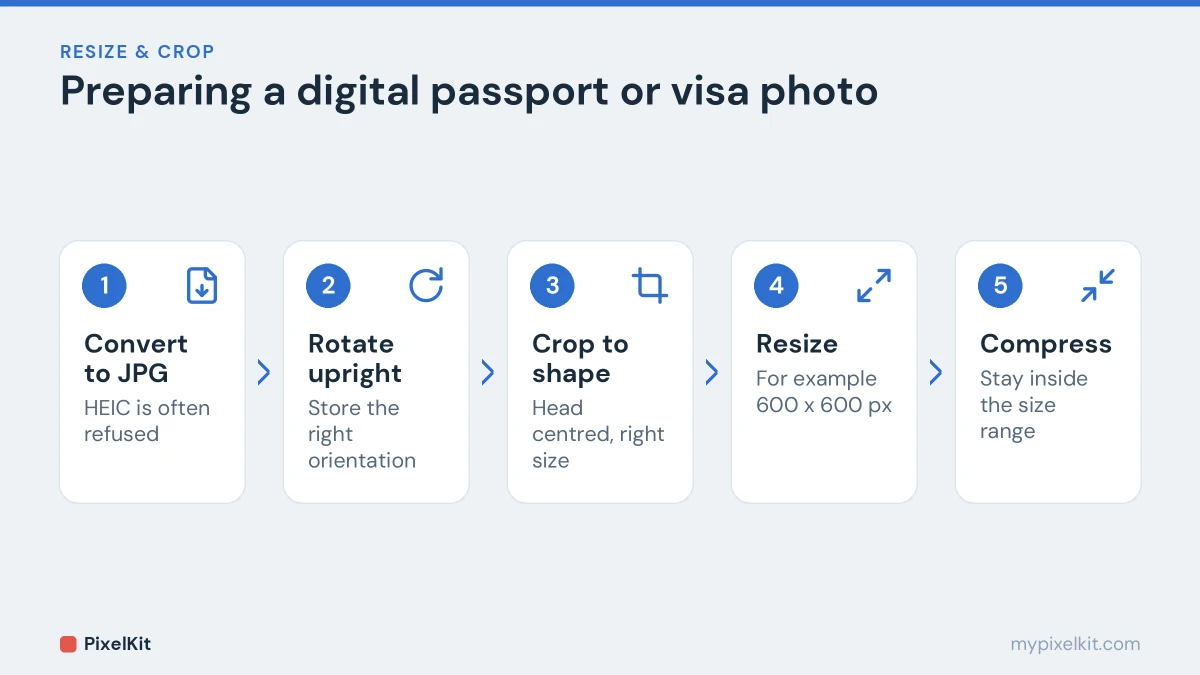
Step 2: Convert it to JPG
Most portals accept only JPG (also written JPEG). iPhones save photos as HEIC by default, which many government sites refuse. Convert the photo with Convert to JPG first; the other tools in this guide then work with the JPG. More options, including how to make your iPhone save JPGs, are in our HEIC to JPG guide.
Step 3: Make sure it is upright
A photo that looks upright in your gallery can still be stored sideways, with a hidden tag telling apps to turn it. Some upload systems ignore that tag. Open it in Rotate Image, check it is the right way up and download it, so the correct orientation is stored in the pixels themselves. Our explainer on why photos turn sideways has the details.
Step 4: Crop to the required shape and head position
Crop first, resize second. Resizing a rectangular photo straight to square numbers would squash your face.
Open Crop Image and drag the crop box to the required shape, square for US photos. Position it so that:
- your face is centred horizontally;
- there is a little space above the top of your head;
- your head is the right size in the frame. For US photos, the head from chin to top of hair should take up roughly 50–69% of the image height.
For a deeper look at cropping to exact ratios, see how to crop an image to a square, 16:9 or any ratio.
Step 5: Resize to the exact pixel dimensions
Open Resize Image and enter the required width and height, for example 600 × 600. Because the image is already the right shape after cropping, nothing gets stretched.
Always resize down to the target, never up. If your cropped photo is smaller than the minimum dimensions, take a new photo or crop less tightly; enlarging a small photo makes it soft and it may be rejected for quality.
Step 6: Compress, but not too much
A 600 × 600 JPG is often already under a 240 KB limit. If it isn’t, open Compress Image and set a target a little below the limit.
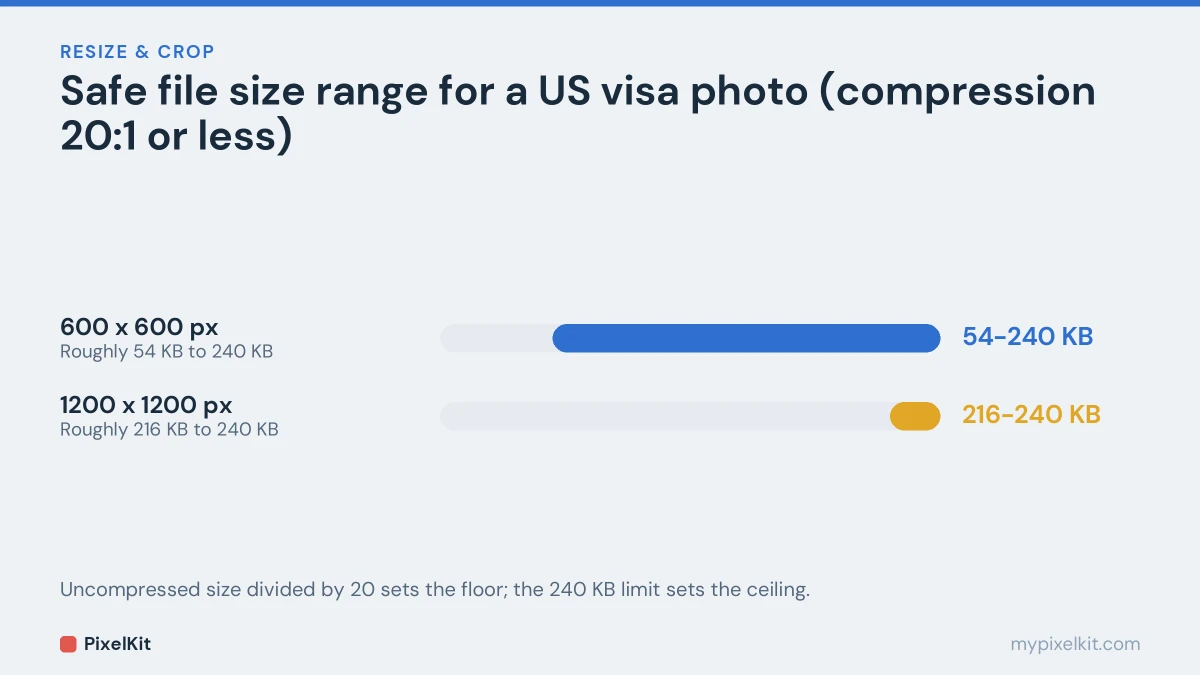
There is a catch that trips people up. The US Department of State also says the compression ratio should be no more than 20:1. An uncompressed 600 × 600 color image is 600 × 600 × 3 = 1,080,000 bytes, so at 20:1 the file should stay above roughly 54 KB. At 1200 × 1200 the uncompressed size is four times bigger, which puts the floor at about 216 KB, dangerously close to the 240 KB ceiling. For US visa photos, 600 × 600 pixels and a file of around 100–200 KB gives you a comfortable margin on both sides.
For other portals, apply the same logic: stay just under the maximum rather than squeezing the file as small as possible. Our guide on compressing an image to an exact size covers tight limits.
Step 7: Check everything before you submit
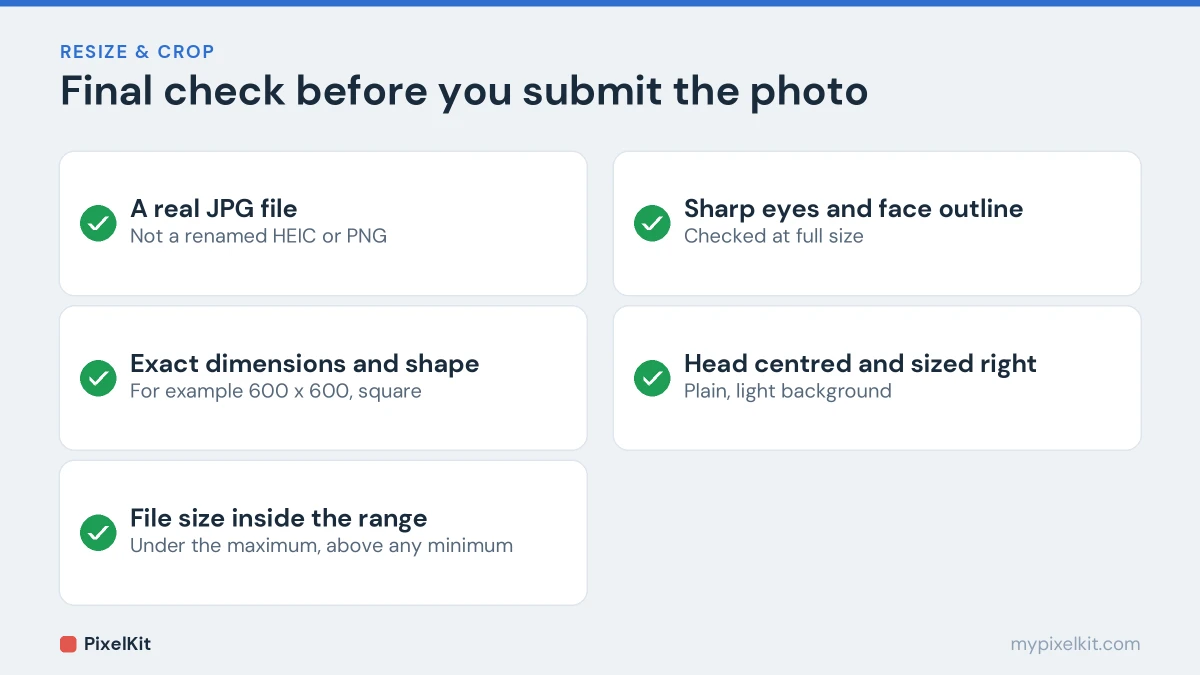
- The file is a real JPG, not a renamed HEIC or PNG.
- The dimensions match exactly, including the shape.
- The file size is inside the allowed range.
- At full size, your eyes and the outline of your face are sharp.
- The head is centred and correctly sized, with a plain background.
Some governments offer their own photo checking or cropping tool; the US Department of State has one on its website. It is worth running your final file through it if one exists. If the portal still refuses the photo, work through our list of reasons photo uploads get rejected.
Printing the photo yourself
If you need a printed photo, prepare it at 300 PPI for the physical size required: 600 × 600 pixels for a 2 × 2 inch photo, or about 413 × 531 pixels for 35 × 45 mm. Print on photo paper at 100% scale, with any “fit to page” option turned off, and measure the result with a ruler before you cut.
Resize photo for passport: final checklist
To resize photo for passport or visa forms, always start from the original, convert it to JPG, turn it upright, crop to the required shape with the head in position, then resize photo for passport dimensions exactly as the form lists them. Compress last and stay inside the allowed file size range. Before you submit, compare your passport photo against every rule on the official page, because a correctly sized passport photo can still be refused for lighting or background. Crop Image and Resize Image cover the two key steps.
Frequently asked questions
Can I take a passport photo with my phone?
In many countries, yes, provided the photo meets every official requirement. Ask someone to take it from about arm’s length or further, at eye level, rather than taking a selfie.
What size in KB should a passport photo be?
It depends entirely on the portal. The US visa application allows up to 240 KB, for example. Always use the limit stated on the official website, and stay slightly under it.
Why was my photo rejected when the size and dimensions are right?
Automatic checks also look at the photo itself: head size and position, background, lighting, shadows and glasses. Fix those by retaking the photo; no amount of resizing will.
Is it safe to prepare an ID photo online?
With PixelKit, yes. Every step runs inside your browser, so your photo is never uploaded to a server.
Sources and further reading
- Digital image requirements (U.S. Department of State): Official size, format and file size rules for digital US visa photos.
- Photo requirements (U.S. Department of State): Official composition rules for US visa photos, including head size and background.
- Get a passport photo: digital photos (GOV.UK): UK government rules for digital passport photos.