Quick answer: Photo upload rejected? Most of the time it comes down to one of three things: the file is too large, it is in a format the site doesn’t accept (often iPhone HEIC), or its dimensions don’t match what the form expects. If your photo upload is rejected, check the form’s requirements, then fix the file in this order: convert, rotate, crop, resize, compress.
In this guide
“Invalid file.” “Upload failed.” “The image does not meet the requirements.” Upload errors are rarely specific, which makes them frustrating, especially on a job application or an official form with a deadline. The good news is that there are only a handful of real causes, and each has a quick fix.
Photo upload rejected? First, read the requirements
Most forms state their rules near the upload button or in a help link. Look for:
- Accepted file types, such as JPG, JPEG, PNG or PDF;
- Maximum file size, and sometimes a minimum;
- Dimensions in pixels, or a required shape such as square;
- A DPI value, background color or other photo rules for ID pictures.
Write them down, then work through the causes below.
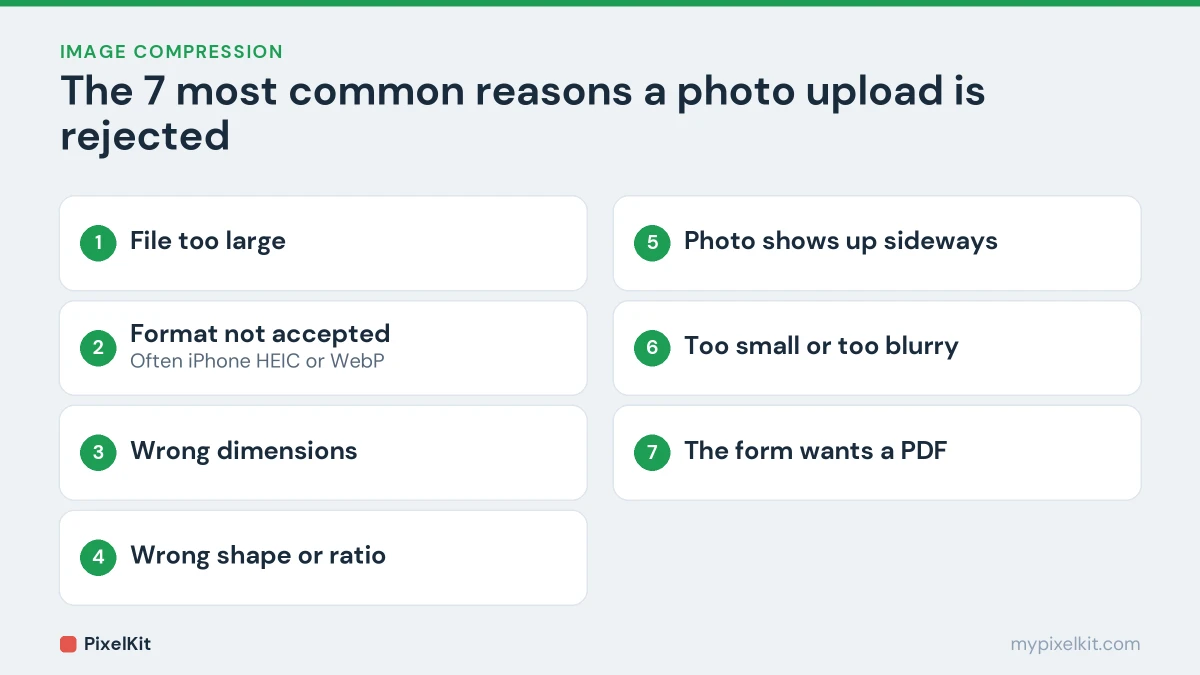
1. The file is too large
This is the most common reason by far. A photo straight from a phone is usually 2–5 MB, while many forms cap uploads at 50 KB, 200 KB or 1 MB.
Fix: open Compress Image, set the target a few kilobytes under the limit and download the result. If the compressed photo looks blurry, the image has too many pixels for such a small file. Resize it first, then compress. Our guide to compressing an image to 50KB has a table of the right starting dimensions for each size limit.
2. The file format isn’t accepted
Many sites accept only JPG and PNG. Common culprits:
- HEIC: iPhones have saved photos in HEIC by default since iOS 11. Many websites and Windows programs can’t read it.
- WebP: images saved from websites are often WebP, even when they look like ordinary pictures.
- PNG when JPG is required, or the other way round.
Fix: convert the file with Convert to JPG, which handles HEIC, WebP, PNG, GIF, BMP, TIFF and SVG. Note that simply renaming photo.heic to photo.jpg doesn’t convert anything; the site checks the actual contents of the file. JPG and JPEG, on the other hand, are the same format, so a .jpg file is fine when a form asks for JPEG. Step-by-step instructions are in our guides to converting HEIC to JPG and converting WebP to JPG.
3. The dimensions are wrong
Some forms require a minimum or maximum width and height, such as “at least 600 × 600 pixels” or “no larger than 1200 pixels”.
Fix: set the exact pixel size with Resize Image. Shrinking is always safe. Enlarging a small photo will satisfy the numbers, but it adds pixels without adding detail, so the picture looks soft. If a form needs more pixels than your photo has, a new photo is the better option.
4. The shape or aspect ratio is wrong
Profile pictures, passport photos and many ID uploads must be square or follow a fixed ratio. Resizing a rectangular photo to square dimensions stretches it, which is another common reason for rejection.
Fix: crop to the right shape first with Crop Image, keeping the subject centred, and then resize to the exact pixel dimensions. Our guide on cropping an image to a square or any ratio shows how.
5. The photo shows up sideways
Phones often store a photo in one orientation and add a small EXIF tag saying how it should be rotated. Your gallery reads the tag and shows it the right way up, but some websites ignore the tag and display the photo sideways, and systems that check for a face may reject it outright.
Fix: open Rotate Image, turn the photo until it is upright and download it. The new file has its pixels stored the right way round, so it displays correctly everywhere. For the full story, see why photos turn sideways.
6. The file is too small or too low quality
Some portals set a minimum size, for example “between 20 KB and 100 KB”, or reject photos that look blurry. Over-compressing, or starting from a screenshot of a photo instead of the photo itself, can trigger this.
Fix: go back to the original photo and compress it to a target close to the maximum allowed instead of as small as possible.
7. The form wants a PDF, or one file for several pages
Document uploads, such as certificates, bank statements or a two-sided ID card, often have to be a single PDF.
Fix: turn your photos or scans into one document with Image to PDF, in the order you choose. If you already have several PDFs, combine them with Merge PDF. Our guides to turning photos into a PDF and merging PDF files walk through both.
What about DPI requirements?
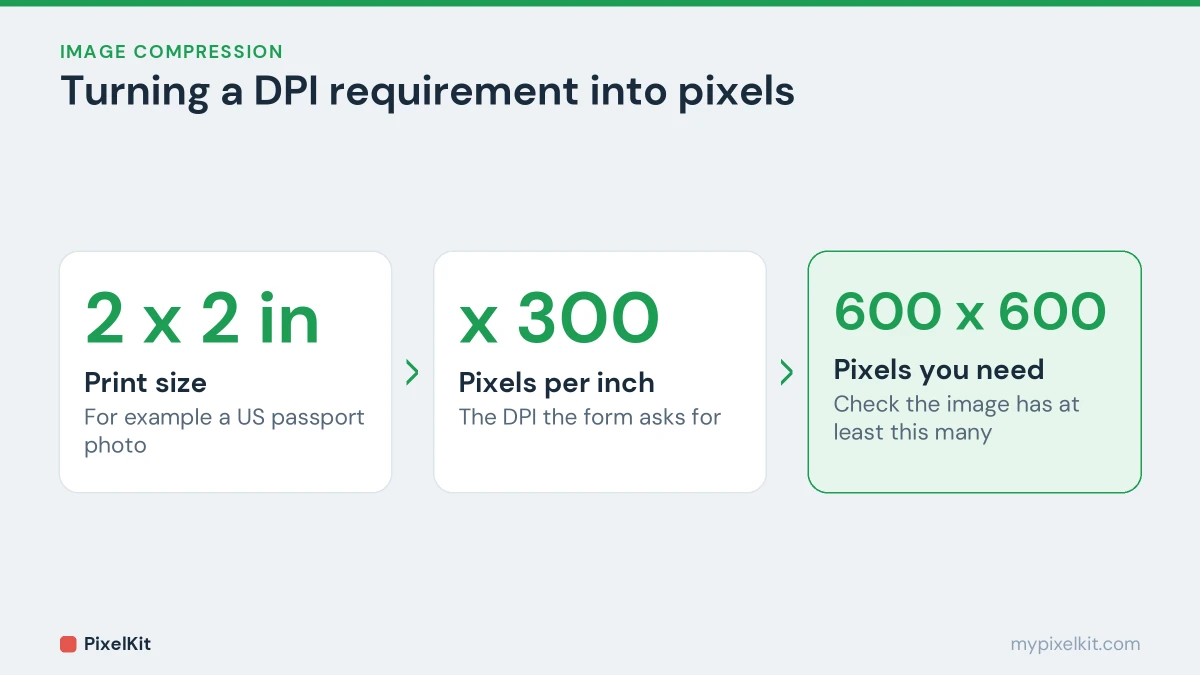
When a form asks for “300 DPI”, what it really needs is enough pixels to print the photo at a certain physical size. Multiply the print size in inches by the DPI: a 2 × 2 inch photo at 300 DPI needs 600 × 600 pixels. Make sure your image has at least that many pixels. Changing the DPI number in a file’s settings, without changing its pixels, doesn’t make the picture any sharper. Our explainer on image dimensions and DPI goes into more detail.
Still rejected? Other things to check
- The file name. Some older systems choke on very long names or special characters. Rename the file to something simple like photo.jpg.
- A double extension, such as photo.jpg.png, created by some save dialogs.
- The browser. Try a different browser, or disable extensions such as ad blockers that sometimes interfere with upload scripts.
- A slow connection that times out on larger files; a smaller file helps here too.
The quick fix order
When a file breaks several rules at once, fix them in this order so each step starts from the best possible version:
- Convert to an accepted format.
- Rotate it the right way up.
- Crop to the required shape.
- Resize to the required pixels.
- Compress to fit the size limit.
Compressing last means the image is only squeezed once. To understand why that matters, and how to keep quality while cutting file size in general, see our complete guide on how to reduce image file size.
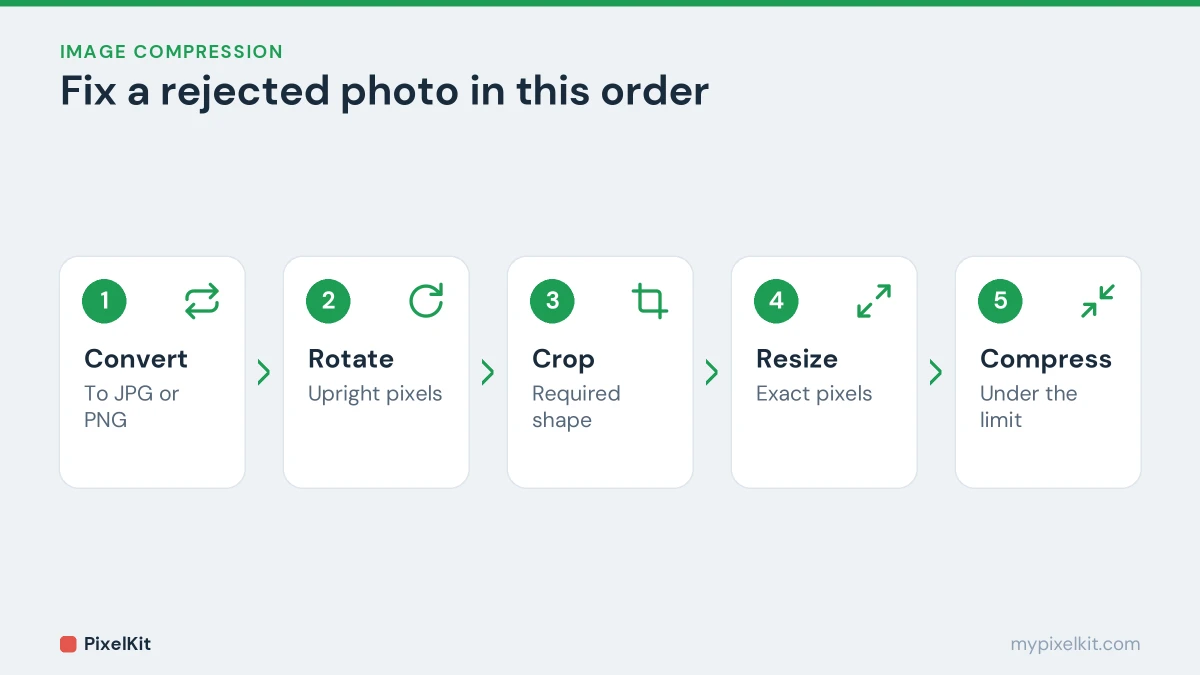
Photo upload rejected? Quick recap
When a photo upload is rejected, the cause is almost always one of the checks above: file size, format, pixel dimensions, shape, orientation, quality or file type. Read the exact rule the site gives, fix that one property, and try again. If the upload is rejected a second time, work through the fixes in order: convert to JPG, rotate it upright, crop to the right shape, resize to the required pixels and compress last. A photo upload rejected for size alone is usually solved in seconds with Compress Image.
Frequently asked questions
Why does the website say my JPG is invalid?
The file may not really be a JPG. Photos renamed from HEIC or WebP keep their original contents, and sites check the contents rather than the extension. Convert the file properly and upload the new version.
Can I fix my photo on my phone?
Yes. All the PixelKit tools mentioned here work in a mobile browser, with no app and no account, and your photo is processed on the phone itself rather than uploaded.
My photo meets every rule but is still rejected. What now?
Some portals run automatic checks on the photo itself, such as face position, background color or brightness. Read the photo guidelines carefully, retake the picture against a plain background if needed, and contact the organisation if the error persists.
Sources and further reading
- Using HEIF or HEVC media on Apple devices (Apple Support): Apple's explanation of HEIF/HEIC photos and the compatibility settings on iPhone.
- HEIF Image Extensions (Microsoft Store): Microsoft's free extension that lets Windows open HEIC images.
- Exif (Wikipedia): How camera metadata, including orientation and GPS location, is stored in photos.
- Photo requirements (U.S. Department of State): Official composition rules for US visa photos, including head size and background.